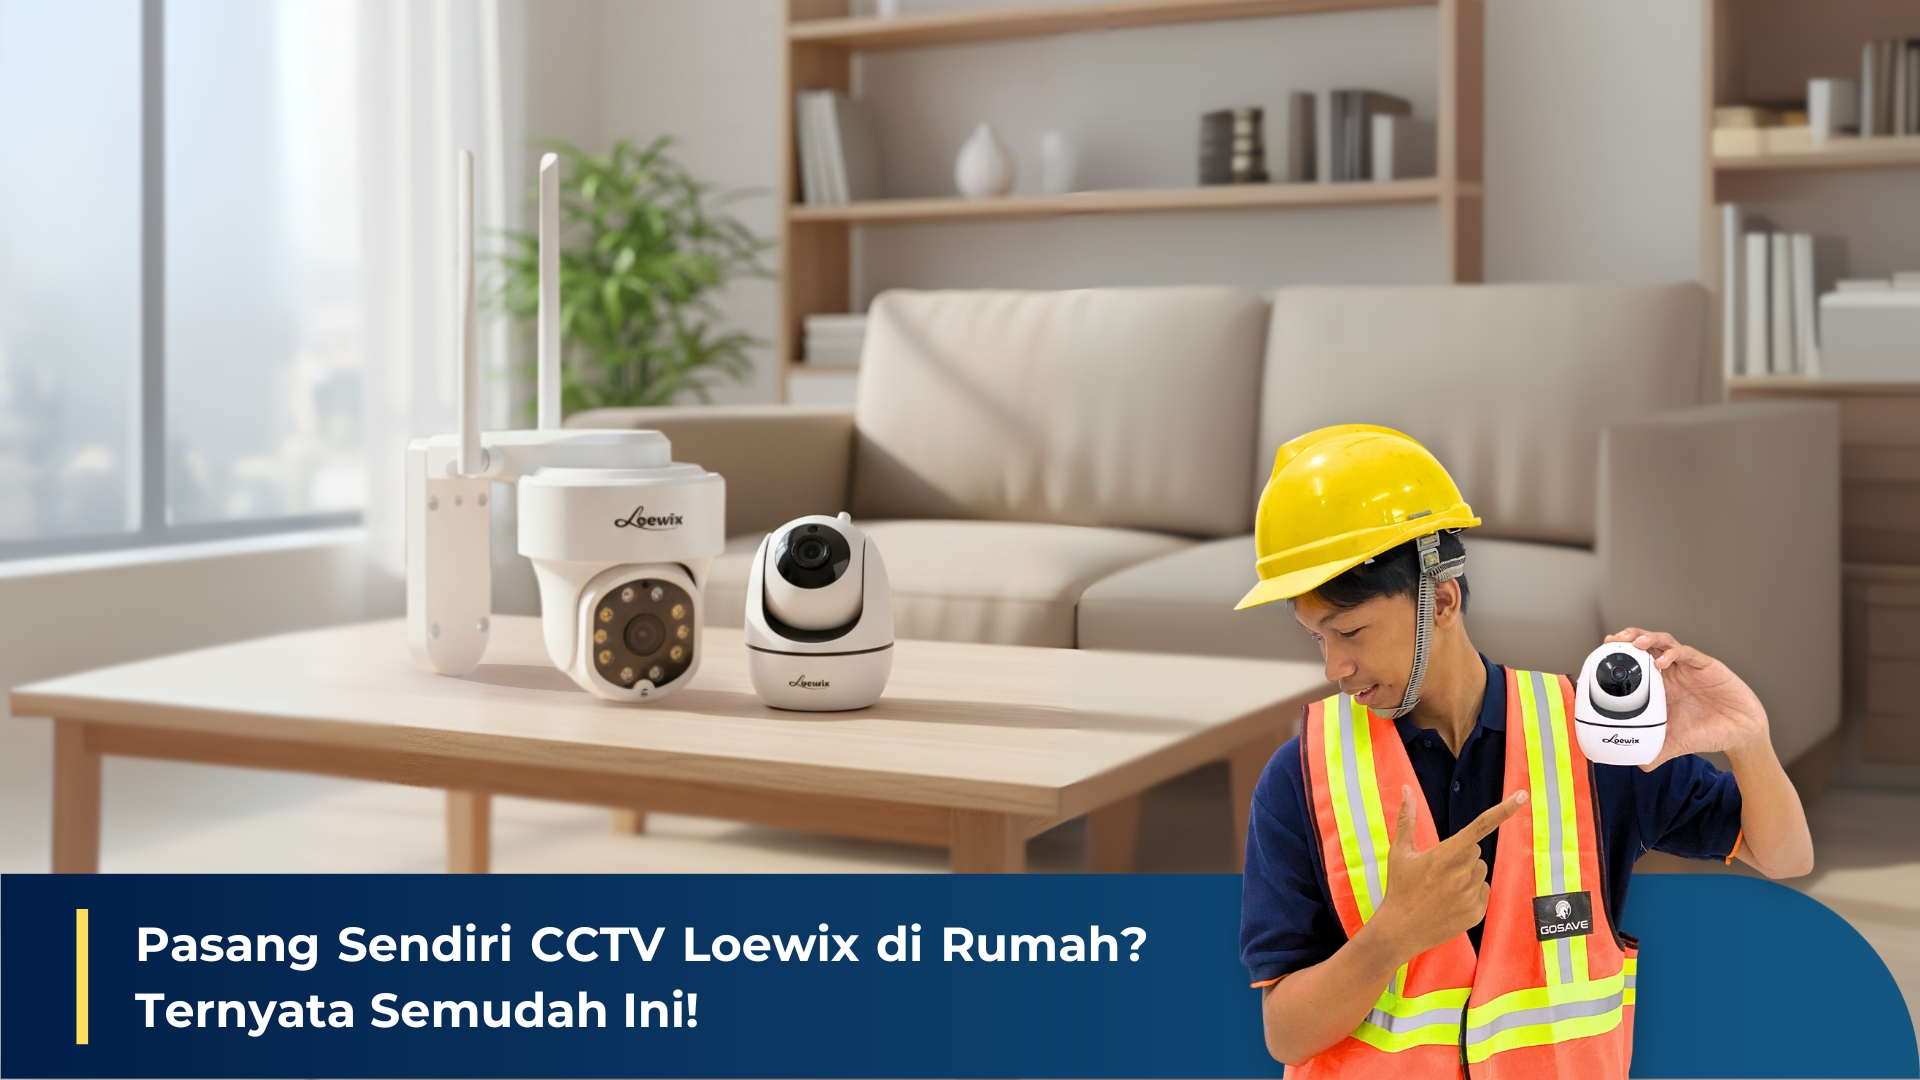
Installing a CCTV security system often sounds complicated and seems like it requires an expert. However, thanks to increasingly advanced and user-friendly technology, you can now install several types of Loewix surveillance cameras yourself—quickly and easily.
This article serves as your guide to installing our two mainstays: the Loewix Babycam Indoor (A1-20BC), perfect for monitoring inside the house, and the Loewix Outdoor (Ai-OT380M), built tough to protect your exterior. With this step-by-step guide and tutorial videos, your security system will be up and running on your phone in no time.
Preparation: Three Essentials Before You Start
Before opening the box, ensure these three things are ready to make the installation process super smooth:
-
Determine the Best Mounting Points: Think about where the cameras will go. For the Indoor Babycam, pick a corner that covers the whole room. For the Outdoor Camera, choose a spot that monitors entrances, gates, or "blind spots."
-
Prepare Your Wi-Fi Network: Both cameras connect to the internet via Wi-Fi. Ensure the signal is strong at your chosen mounting points and have your Wi-Fi password ready.
-
Download the App: The key to monitoring from your phone is the app. Download iCSee from the Google Play Store (Android) or Apple App Store (iOS) and create an account.
Part 1: Installing Loewix Babycam Indoor (A1-20BC)
This camera is ideal for monitoring nurseries, living rooms, or even your pets. Its simple design makes it incredibly easy to set up.
-
Step 1: Connect to Power – This is the easiest step. Simply connect the provided adapter cable to the camera and plug it into the nearest outlet. The camera will turn on and usually emit a sound to signal it's ready to connect.
-
Step 2: Connect to the iCSee App – Open the iCSee app and follow the steps to add a new device. The app will guide you through connecting the camera to your Wi-Fi. This usually involves scanning the QR code on the camera.
Pro Tip: The A1-20BC is highly flexible. You can place it on a table or shelf, or mount it to the wall/ceiling using the bracket included in the package.
Part 2: Installing Loewix Outdoor (Ai-OT380M)
This rugged camera is designed to withstand heat and rain, making it the ideal guardian for terraces, garages, or gardens.
-
Step 1: Physical Mounting – Since it’s for outdoors, it needs to be wall-mounted. Use a drill to make holes matching the bracket, secure the bracket, and attach the CCTV. Mount it high enough to avoid tampering while maintaining a wide viewing angle.
-
Step 2: Connect to Power & App – Like the indoor unit, the Ai-OT380M needs power. Ensure you use a weather-protected outlet. Once powered, link it to the iCSee app just like the indoor camera.
Pro Tip: Ensure all cable connections, especially between the camera and the adapter, are protected inside a waterproof junction box to prevent short circuits during heavy rain.
Conclusion: Professional Security, Easy Installation
The ease of installing the Babycam Indoor (A1-20BC) and Outdoor Camera (Ai-OT380M) is a testament to the Loewix philosophy: providing professional-grade security accessible to everyone. You don't need to be a tech expert to start protecting what matters most.
Ready to secure your home today? If you prefer a comprehensive system or simply want it "all done for you," the Loewix professional installation team is always ready to help. Contact us now!